


So, you've brought home a doodle puppy, and now you're staring at that shiny new crate, wondering how on earth you’re going to convince your fluffy bundle of joy to actually use it. Fear not! Crate training might sound daunting, but with a sprinkle of humor and a dash of patience, you'll have your doodle pup loving their cozy den in no time.
Are you a Doodle Mom?
Join a pawsome community of doodle moms, and discover more tail-wagging tips.
Join the Doodle Moms Club →Why Crate Training?
First things first, why bother with crate training? Well, think of the crate as your doodle’s personal bedroom, a place where they can retreat, relax, and recharge. Plus, it helps with potty training, keeps them safe when you can’t supervise, and prevents them from turning your shoes into chew toys.
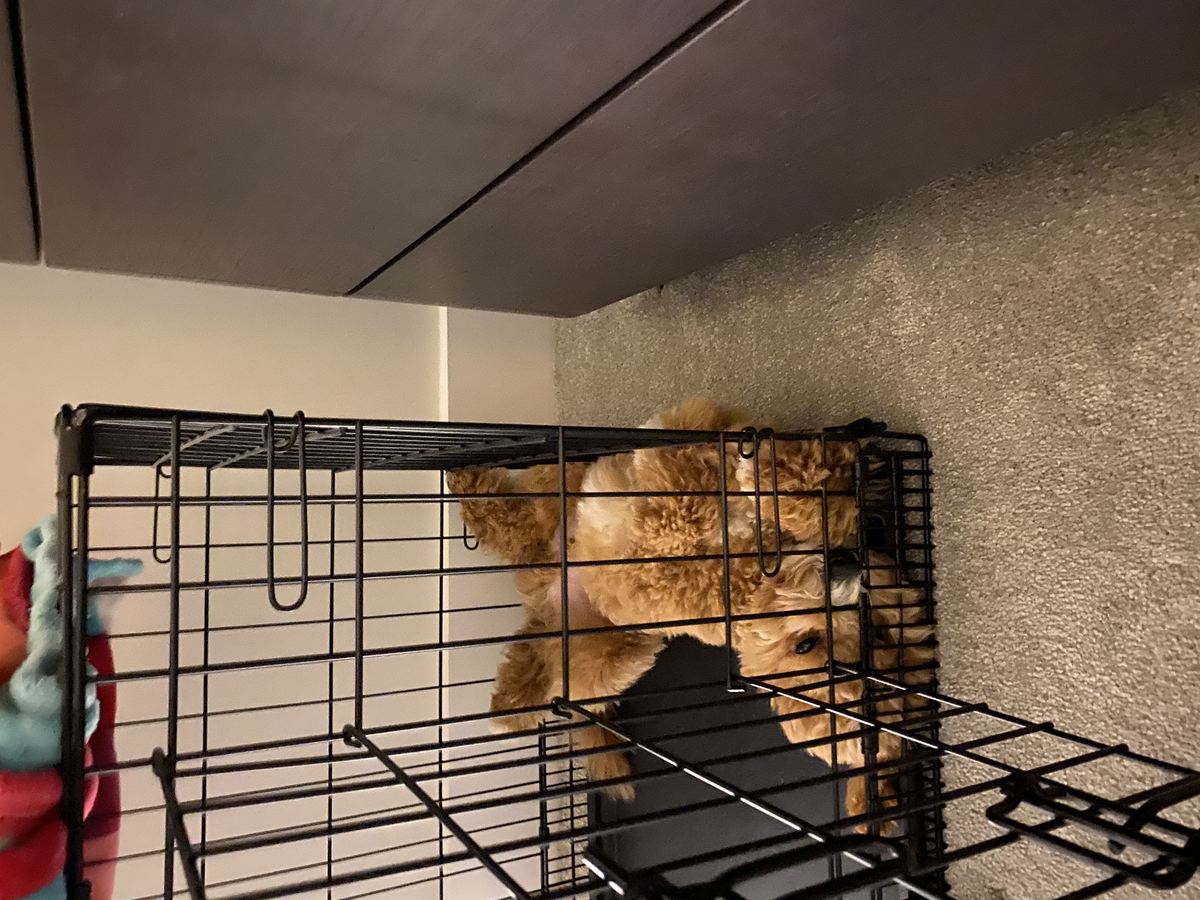
Step 1: Choosing the Right Crate
Choosing the right crate is like picking the perfect pair of shoes – it needs to be just right. Too big, and your doodle might decide to use one end as a bathroom. Too small, and they'll feel like a sardine in a can. Look for a crate that’s big enough for your doodle to stand up, turn around, and lie down comfortably.
Types of Crates
- Plastic Crates: Great for both home use and travel. They’re sturdy, easy to clean, and offer a sense of security for your doodle.
- Metal Crates: Ideal for doodles who love to chew. They’re durable, offer excellent visibility and ventilation, and are easy to dismantle for travel.
- Wooden Crates: Stylish and can blend in with your furniture as an end table. However, they’re heavier and harder to clean.
- Fabric Crates: Best for small doodles who aren’t big chewers. They’re lightweight, portable, and can double as travel carriers, but they’re not as easy to clean.
Step 2: Making the Crate Inviting
Now that you’ve got the perfect crate, it’s time to make it irresistible. Start by placing it in a busy area of your home, like the living room, so your doodle doesn’t feel isolated. Add a comfy bed, a few favorite toys, and maybe a t-shirt that smells like you (doodles are big on scent!).
Step 3: Introducing Your Doodle to the Crate
Let’s make the crate introduction as exciting as a surprise party! Start by letting your doodle explore the crate at their own pace. Leave the door open and toss in some treats. Praise them every time they go near it or step inside. Patience is key here – we want them to think of the crate as a happy place, not a puppy prison.
Step 4: Creating a Positive Association
Food is the way to a doodle’s heart, so let’s use it to our advantage. Start feeding your pup their meals inside the crate (because is there anything a dog loves more than dinnertime?). Begin by leaving the door open while they eat. Once they’re comfortable, try closing the door. At first, let them out as soon as they finish eating, then gradually leave them in there for a few extra minutes. Praise them and offer treats whenever they go into the crate on their own. This helps create a strong positive association with the crate.
Step 5: Short Crate Sessions
Now that your doodle is happily eating in the crate, it’s time to start short crate sessions. Encourage them to enter the crate with a treat or a toy, and once they’re inside, close the door for a few minutes while you’re nearby. Gradually increase the time they spend in the crate, and always reward them with praise and treats when they come out.
Sniff out the latest scoop!
Sign up for the Doodleez mailing list for tail-wagging news!
Join Doodleez Mailing ListStep 6: Leaving the Room
Once your doodle is comfortable with short crate sessions, try leaving the room for a few minutes while they’re crated. This step helps them get used to being alone in the crate. Start with just a few minutes and gradually increase the time. Remember to keep it positive – we want the crate to be a safe and happy place.
Step 7: Overnight Crating
Overnight crating is the ultimate test. Place the crate in your bedroom so your doodle can feel close to you. Make sure they’ve had a chance to potty before bedtime, and then settle them in the crate for the night. Expect some whining at first – it’s normal. Resist the urge to let them out unless they need to potty. With time, they’ll learn that nighttime is for sleeping.
When to Start Crate Training
Crate training can start as soon as you bring your puppy home. Sometimes, shelters or breeders may have already begun the process. Remember to take it slow and steady, and ensure your puppy gets frequent potty breaks. A general rule of thumb is that a puppy can hold their bladder for their age in months plus one hour. So, a two-month-old puppy needs a potty break every three hours.
Using the Crate for Potty Training
Crates are a fantastic tool for housebreaking your doodle. Dogs are naturally clean animals and don’t like to soil where they sleep. Ensure the crate is the right size – just big enough for your doodle to lie down, stand up, and turn around. When they need to go out, they will usually whine or scratch to let you know.
Troubleshooting Tips
Whining and Barking
If your doodle is whining or barking in the crate, it’s important to determine why. Are they bored? Need to potty? Or just testing their boundaries? Don’t give in to the whining – wait until they’re quiet before letting them out.
Accidents in the Crate
If your doodle is having accidents in the crate, it might be too big, or they may not be getting enough potty breaks. Make sure the crate is the right size and that you’re taking them out frequently, especially if they’re young.
Chewing and Destruction
If your doodle is chewing or destroying things in the crate, they might be bored or anxious. Provide safe chew toys and make sure they’re getting plenty of exercise and mental stimulation.
Fur-tastic Finale
Crate training your doodle puppy takes time and patience, but with consistency and positive reinforcement, it will pay off. Remember, the crate is their safe haven, not a punishment. So, keep it fun, keep it positive, and before you know it, your doodle will be happily snoozing in their crate like a pro.
Happy training! ?